

Coding and Whatnot
But first a quick development update. The Miso Upgrade quests are mostly done, I just need to actually make it so you can find the chalcopyrite (it’s very important you see). After that I place loot in all the rooms and the combat is ready for testing. Eeeee.
Witches of Ravenbrook: Events and World Persistence
To get a few things straight, the prototype made extensive use of random level generation. This is because I had nowhere near enough time to get the 3D levels ready before we had to release the prototype, and no time to develop the levels to go with it.
The final game will use persistent 3D levels you can wander around in. These can be seen in the WoR trailer on the Kickstarter. The hub area won’t be the gardens, it will be part of the university. You’ll need to walk down Ravenbrook U’s halls to reach the pactrealms and will be able to make shortcuts to different areas that lead back to the university.
You will still be able to enter randomly generated dungeons in order to challenge yourself, get more equipment and experience, and maybe complete missions for NPCs. I’d like to add special challenges, like a random dungeon where all your characters are locked to level 1, or one where you can’t use magic. Fun extras. The majority of the game will be in handcrafted levels.
The events system is getting an overhaul. Since you will have as many as six characters in your party at once, and each of them will be able to multiclass into three classes, it starts to become the case fairly quickly that you can get all the traits for events. As such, classes will no longer have traits. Instead you will be able to buy traits that affect the entire party with Mastery Points (more on that later). This means that you won’t have to sit on a class you might not like to get the Gardener trait, you’ll need to instead use another system to get an edge in events and trade against other skills or stat bonuses.
Threat
In Witch Hunter Izana and Runes of Pandemonium, each enemy has a “threat” value that indicates which party member they hate the most. Threat is gained by using taunts and by damaging the enemy, and lost by getting hit. This system is fairly simple (whoever is doing damage is going to take damage) but is fairly opaque. In Runes you need to check the combat inspector to see the threat values. In Witch Hunter Izana, it’s Caelyn because of Bulwark :3
Instead, Ravenbrook will have threat handled positionally. Whenever the leftmost character in your party deals damage, the threat meter moves to the left. Enemies will be more likely to target the leftmost character as the meter moves left, and less likely to target the rightmost. If the meter goes all the way to the left, enemies will ignore the other party members entirely and hit the leftmost one.

(Note: All visual aids provided by artist Coco)
This is indicated by an onscreen UI device, and opens up some tactics. You can put a weak character on the other side of the party from a high-threat character, confident the enemy will ignore them. Heals, buffs, and debuffs don’t cause the threat needle to move!
In addition, once per turn you can switch a character from the front row to the back row. The back row characters will regenerate some HP each turn and cannot be attacked by the enemy, nor can they act. This means that if one of your characters is under the threat needle, you could switch them with a back-row tank character and move them around.
Boss enemies, of course, might screw with the threat needle. Expect to see a lot of that in the Witch of Deceit’s realm!
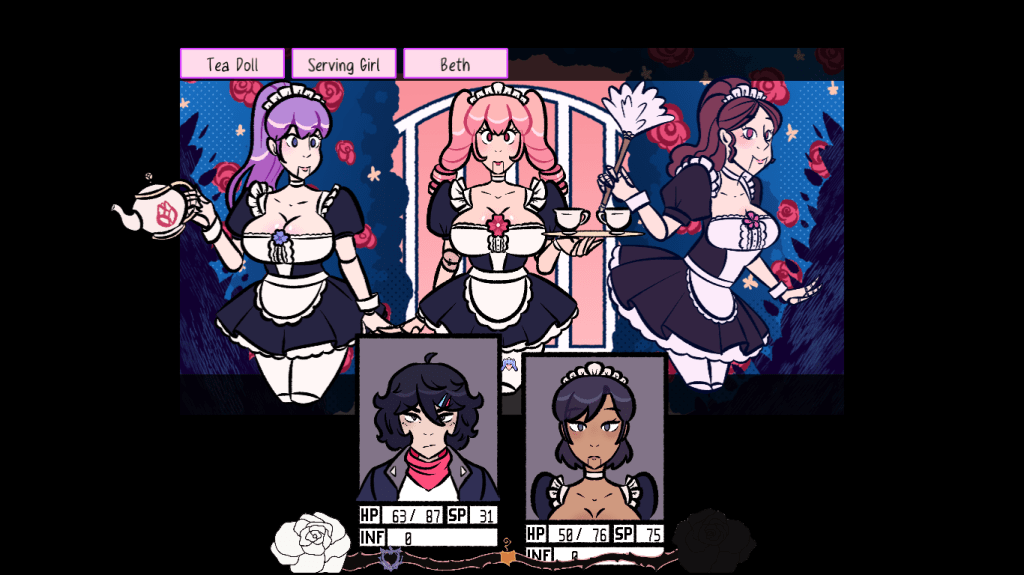
Note: All visual assets are obviously not finalized. In the above case, the purple indicator means Lore is the likely threat target, with about a 10% chance for Chris to be attacked.
Changes to Accuracy and Mastery, and Equipment
In the prototype, each character has a ton of equipment slots. It’s already a lot of management to keep track of three characters. Now in the final game there’s six! As such, we’ve cut down the total number of equipment slots. Weapon, Armour, Ammo, Accessory, and Pact (no stats, changes appearance). That’s four real slots (Pact is entirely cosmetic) so it’s 24 equipment items total, this might move to five slots depending on testing. I like to keep the game moving forward and want to avoid the player having to spend too much time messing around in their inventory. There’s already a lot of stuff to do in the UI, it’s an RPG, but cutting that down to streamline is just a good idea.
I also want to keep things as an equip-anything case. To do that in the prototype, you could equip any weapon you wanted, but if your character didn’t have proficiency in that weapon, you had a 50% miss rate. Given that you will want to change classes often, that’s going to be a problem.
Instead, all base accuracy rates are now 90% (missing in RPGs is annoying, and if both you and the enemy miss, it’s a wasted turn. 90% is enough that battle keeps moving but gives some nice “oh thank goodness” moments when an enemy misses). Instead, a class can be Proficient in a weapon type. If they are, you get +5% accuracy and +10% damage when using that weapon. Proficiencies *stack*, that is, if you multiclass with 3 classes that are all proficient with a weapon, you get +15% accuracy and +30% damage with that weapon. This is much easier to read, you will see a plus sign next to a weapon when equipping it if a character is proficient in it, and can see up to five plus signs.
How do you get more proficiencies? Mastery Points! More on that in the next section (sorry). You can also get proficiencies from armours or accessories and whatnot. Having accuracy over 100% increases your critical strike rate (base is 5%) so more accuracy means more damage, similar to how RoP and WHI handled it.
As an aside, the seven weapon categories are the same. Sword (slash), Hammer (strike), Spear (Pierce), Staff (Strike), Wand (Fire/Ice/Shock depending on the wand), Bow (Damage type uses the arrow), and Whip (Pure, ignores enemy defense). However, proficiency in Staff and Wand instead increases damage dealt by magic spells by 10% per proficiency when those weapons are equipped. Staff typically has some defensive bonuses on it, while Wand is pure damage. Wizard characters will want to use Staves and Wands but can totally use the other weapons, and you can multiclass to get good at using them too!
Armours also have proficiency ratings, though only body armour. Accessories and any other defense equipment we may add do *not* have proficiencies. Armour is divided into Light, Medium, and Heavy, based on how much defense it gives (heavy armour also gives initiative penalties). If a character is proficient in an armour type, they take 7% less damage *after attack/defense is computed* per point of proficiency. This applies to both physical and magical damage (but not pure damage). If this sounds complex, it just means you should wear armour your characters are proficient in, and they will take less damage than if you wore all Heavy armour all the time. You can still do that if you want!
The auto-equip algorithm will take proficiencies into account when picking the best gear out. This is done by using the equipment’s “score” (an internal quality value based on its stats) and adding percentage bonuses if a character is proficient with it. Hopefully this is all easy to understand on the UI, just equip the best stuff with lots of green plus signs.
Mastery Points
Now for the big one. In the prototype, each class gained JP when you defeated enemies, and could level up. This unlocked new skills and boosted the stat increases the class gave. If a class is fully leveled, it even gave a permanent bonus. Some were nice-to-haves like a permanent +5% max HP. Some had utility, like being able to cast certain spells for free and thus meaning you could save MP for other spells. Handy!
Note: The UI for this (and a lot of other stuff) is likely getting overhauled. I want to make it more clear what each class gets for levelups, and I want to make a Spell/Skill glossary that you can use. You’ll be able to click a spell and see what it does before you even level up!
We’re keeping the JP/Class levelup system. The permanent bonuses are also staying, but will generally be moved to stat percentage bonuses. Instead, each time you gain a level in a class, you get a mastery point. There are several types of mastery points, like Cunning, Power, Wisdom, Charm, Speed, and more. Some later classes require more JP to level up and might give more than one point for each level up.
Once you have some mastery points, you can head to the mastery grid to start buying bonuses. The mastery grid opens up as the game goes on, you will find new parts of the grid as you explore, do missions, and maybe find secret areas. You can also be rewarded with mastery points for doing missions, or find them in secrets, so be nice to those NPCs and search carefully!
Mastery grid upgrades can be things like unlocking a character-specific special move, making a spell cost less MP (or even 0!), making your character resistant to certain status effects, giving resistance to damage types, stat bonuses, equipment proficiencies, and if you read the Event section above, this is where you buy traits to bypass events or get bonuses. Is it worth spending 3 mastery points so that all the dolls you meet in random events will think you’re a maid and restore some HP instead of attacking you? Hell if I know, it’s up to you!
Oh and if you screw up, or want to change your build, just ask Fluffs. She’ll hit you with her Remaster Device (it’s a frying pan) and allow you refund your mastery points.
Consumables and Grid-Based Inventory
The prototype had big list-based inventories, which is functional but still a little annoying to read. We’ll be switching to a grid-based inventory. Each party member has an inventory of five slots on their belt, and your party has a larger inventory for storing everything else.
In the prototype, all consumables like potions and firecrackers were instant-use. You could chug 20 potions in a single turn if you really wanted to! This was obviously very powerful, but expensive, so you could throw money at a problem if you were struggling with a boss or wanted to sequence break.
In the final version, each character can only use the items in their local inventory on their belt, but still can use them instantly. It might also be possible to increase the belt slots (with Mastery points or whatnot) so you can make one hell of an alpha strike by hitting the enemy with 50 magic bottle rockets on the first turn. You can get creative with it!
We’re still keeping the “you lose stuff if you die in the dungeon” thing, subject to difficulty levels. However, even on Hard difficulty, you still keep anything equipped, including carried on your belt slots. You can cram some equipment on those belt slots, so you can use that to avoid losing an item you really want to keep. In exchange, you might have fewer slots for potions and cakes!
Item Modifications
In the prototype, you could frequently find mods for your items. This actually borrows the gems system from RoP and WHI, it’s the same basic code but modified a bit in the UI. The idea was that you could disassemble an item to destroy the item but keep a mod of your choice. I wanted mods to be something you find a lot of but aren’t worried about throwing away. However, most players just put one mod in each piece of gear and then disassembled that weapon or armour to transfer the mod to the new item they just found.
That wasn’t quite what I was going for, so the mod system clearly needs adjustments. In WHI, the gem system is meant to give you a useful upgrade that you can keep as you find new gear, in fact the game even automatically transfers gems to the new equipment when you change gear.
As such, here’s the new mod system. First, disassembling an item in the field will now return all mods in the item, but destroy it in the process. You can do this *in the field* at any time. However, there is an NPC you can find early on who gives you a lot of helpful combat advice. This NPC can, for a small fee (25% of the value of the item in question), remove all of the mods from an item and not destroy it. You can sell the item (for 50% of its value) to Fluffs, or if you wanted to change the mods in it, you can then re-socket it. Also, this means unique items you can’t sell can now be re-socketed for cheap.
So, now that the player won’t be losing as many mods, what do we do? Well, that same NPC (who looks very cool by the way) offers an upgrade service. You will find a lot of +1 Attack mods in the dungeon. Take 3 +1 Attack mods and you can upgrade them into a +2 Attack mod. Oh, and if you have 3 +2 Attack mods, you can merge them into a +3 Attack mod.
Obviously this is going to become quite powerful, the cap is +25 Attack on a single mod, but keep in mind each piece of equipment has 6 mod slots! Making a +25 Attack mod from +1 Attack mods is 3^25 = 847288609443 +1 Attack mods. Obviously, you don’t have to gather +1’s, later in the game you will find more powerful mods from later enemies. Still, this means finding a chest with a bunch of mods in it is always useful, you can merge them and get some better gear as you go and, since the gear with the mods is equipped, you will never risk losing it if you die.
Mods also won’t just be stat boosts, some will be -10% cost on Fireball. Merging 3 of the -10%’s will make a -20% cost on Fireball mod, so you can get free spell casts that way!
Basically, I want to give players who engage with the system a ton of variety. There’s lots of ways to break the game and beat up enemies who are 20 levels above you and thus allow some sequence breaking. Have fun!
Sequence Breaking (or Not)
Progress is gated in three ways in Witches of Ravenbrook. The first is Miniboss Checks. If you played Witch Hunter Izana, you’re familiar with these. They are simply enemy groups that you cannot bypass, but always have the same composition. Once the group is defeated, they move out of the way and you can fight them again if you want more loot/exp. These are meant to stat-check your party. You will, however, get a preview of the enemy before you fight them in Ravenbrook, because dying matters a lot in WoR. In WHI it just booted you back to town with no loss.
The second way to gate you is – gates! You will find gates that require a key to open. Pretty self-explanatory, it’s a locked door and you need a key. You could also buy lockpicking from the mastery grid, though you will need higher lockpicking skills to open higher-level doors. Most of the time, you will need to go find a key to open the door.
However, once you encounter a door, Fluffs will now have the key for that door available for sale. *It won’t be cheap* (if you thought it would be, hi, have you met Fluffs?) so if you want to sequence break, you can! By grinding, or maybe you found a way to make a lot of money quickly.
The final way progress is gated is by exploration abilities. You will pretty quickly run into gaps you can’t walk over. Maybe you need to make a bridge somewhere, maybe you have to go around – or maybe you need to find the Long Jump magic that lets you jump further so you can clear the gap. There are several useful abilities like this, some of them given by your characters!
Lore – Wall Break (can smash down certain walls to make a hole)
Clover – Dispel Camera (dispels illusionary walls so you can walk through them)
Penny – Midnight Oil (lights up dark areas by throwing flares)
With so much sequence breaking going on, how does the game handle all of this?
By me not getting any sleep.
But seriously, the game instead takes your party leader as the representative, and they will only sparingly speak with the other party members when talking to NPCs. Though, in some cases, only a certain character can speak with an NPC and get anything done. If this happens, the game will prompt you with “Perhaps I should let Alia handle this” so you know you aren’t missing out.
When a witch is killed, and at certain story points, your party will all talk to each other. When this happens you will instantly have all party members returned to you for free so the scene can work. You also won’t be able to confront/join any of the witches without having recruited all six characters. I don’t want to write 50 cases here, people 😉
More Next Time
December’s update post will likely be more art. January, no idea, it’s always hard to get stuff done in December because everyone is on vacation. Stay tuned!
Question Time


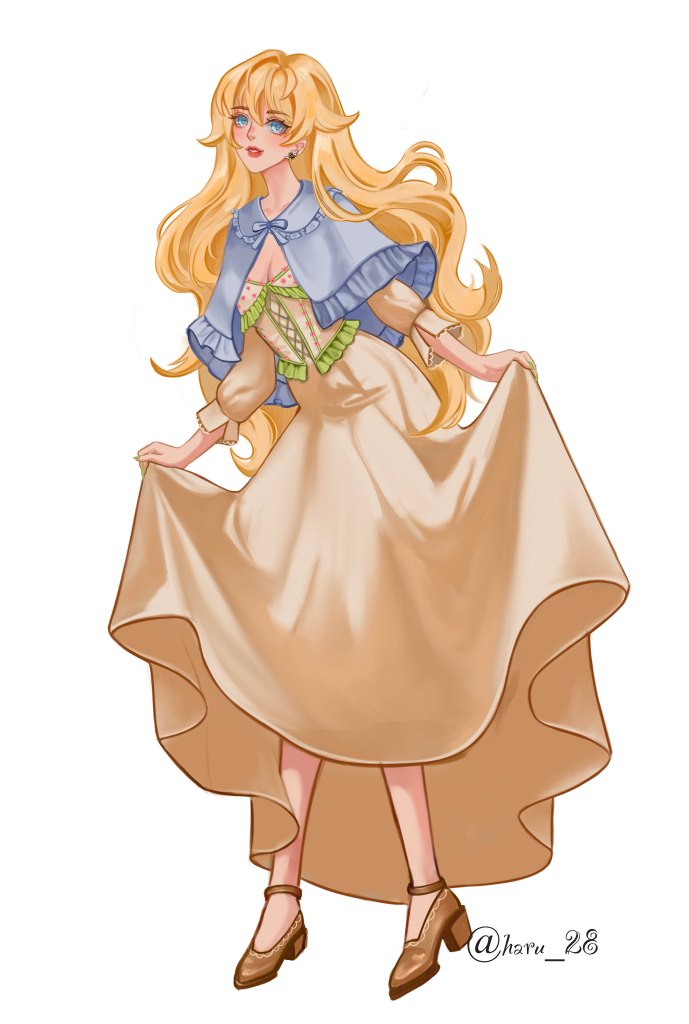
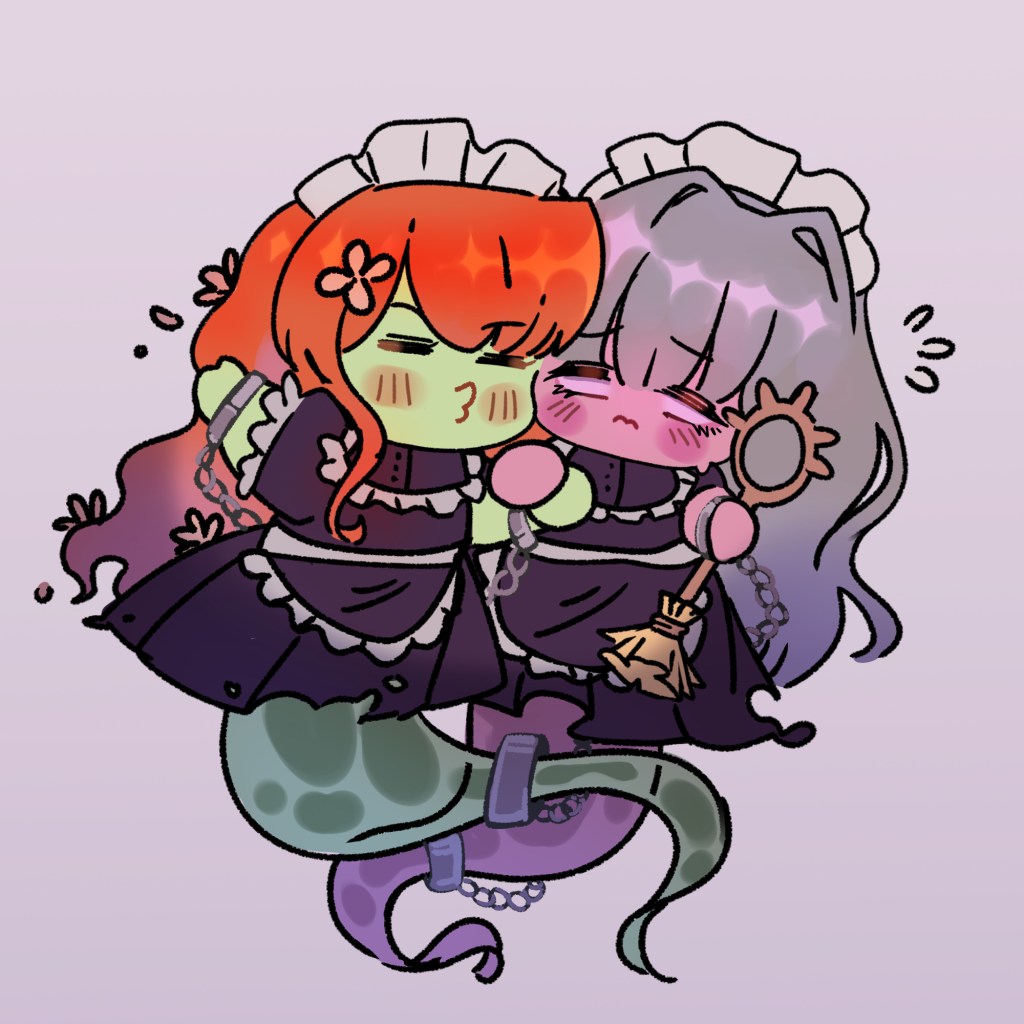
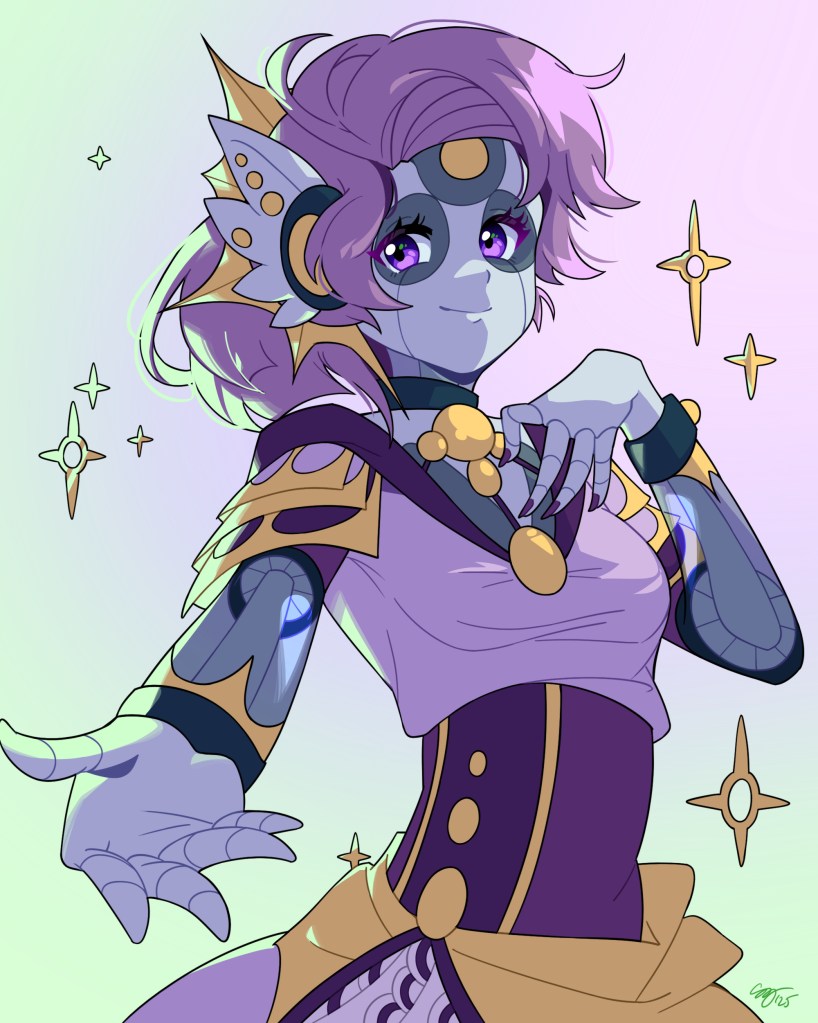
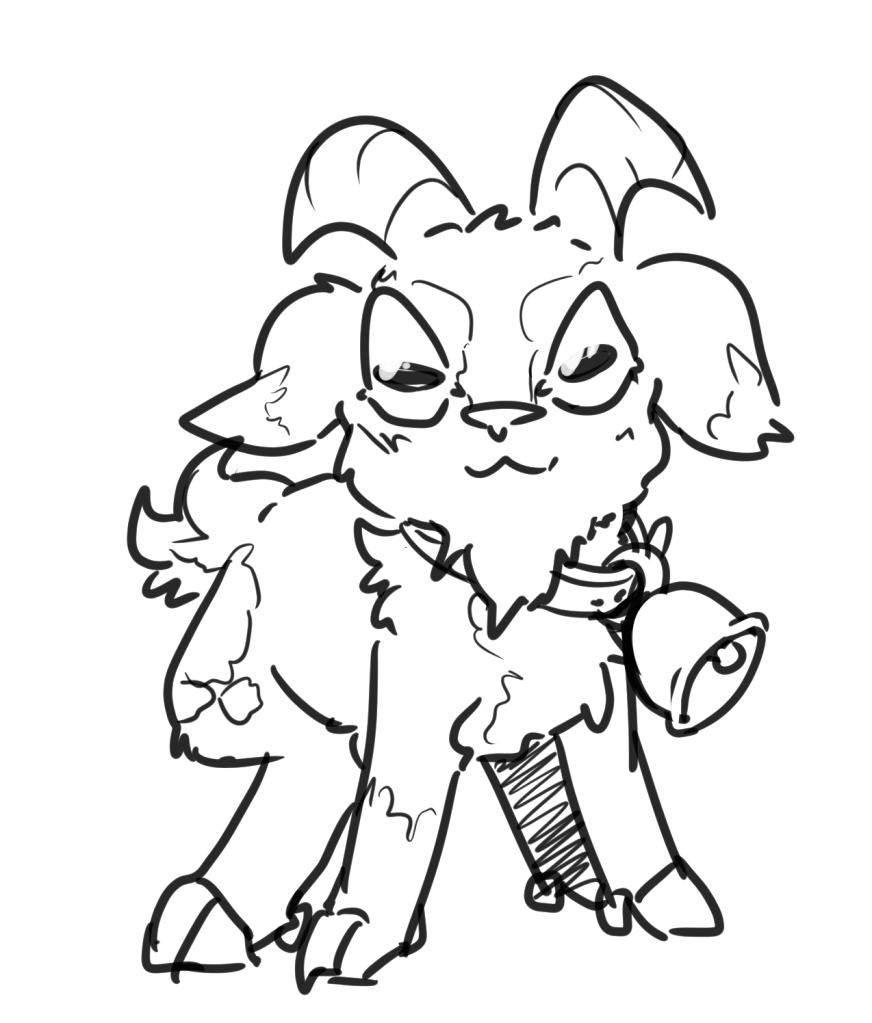
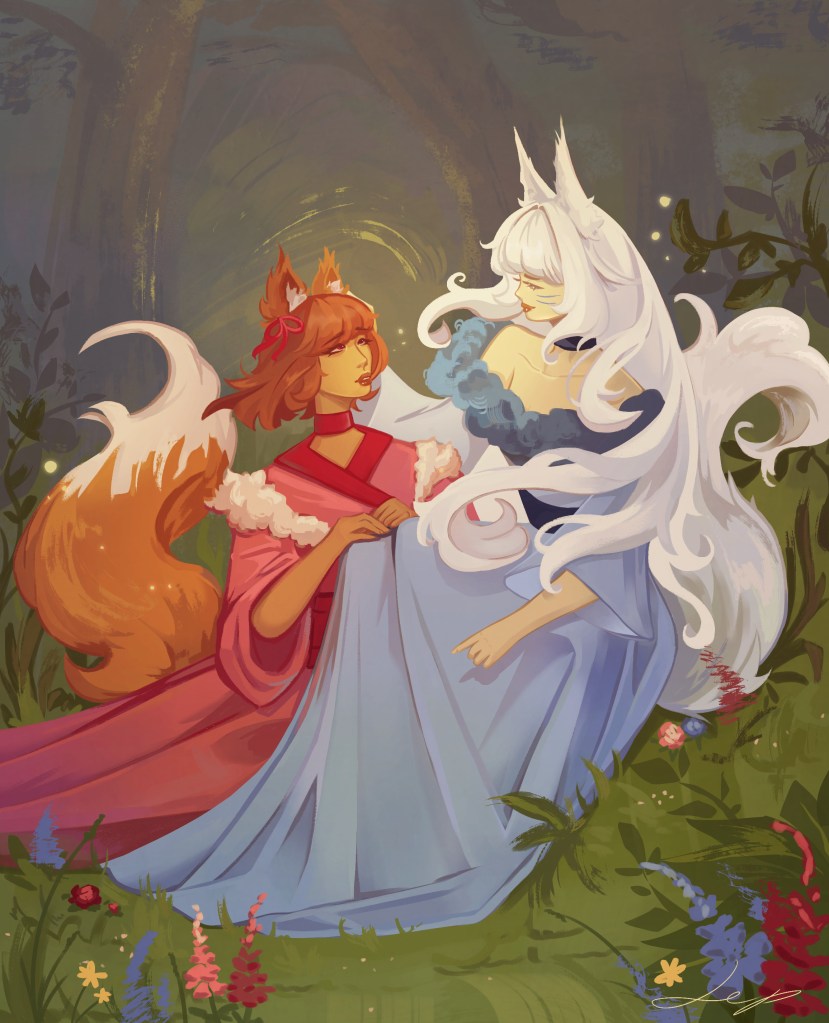
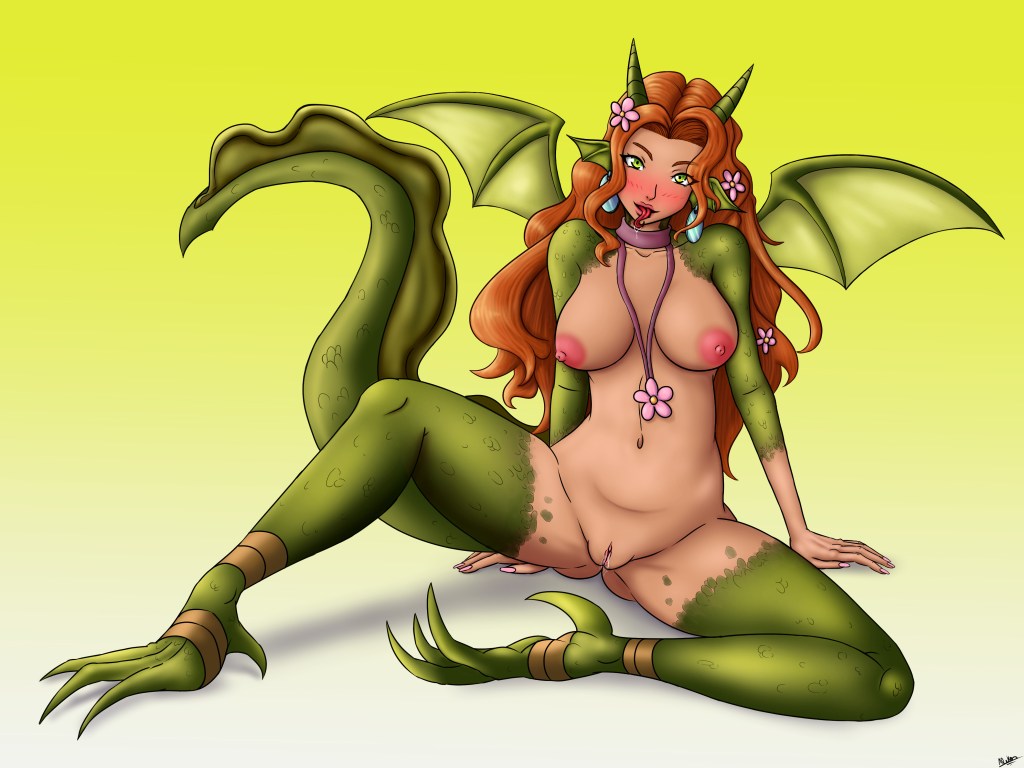
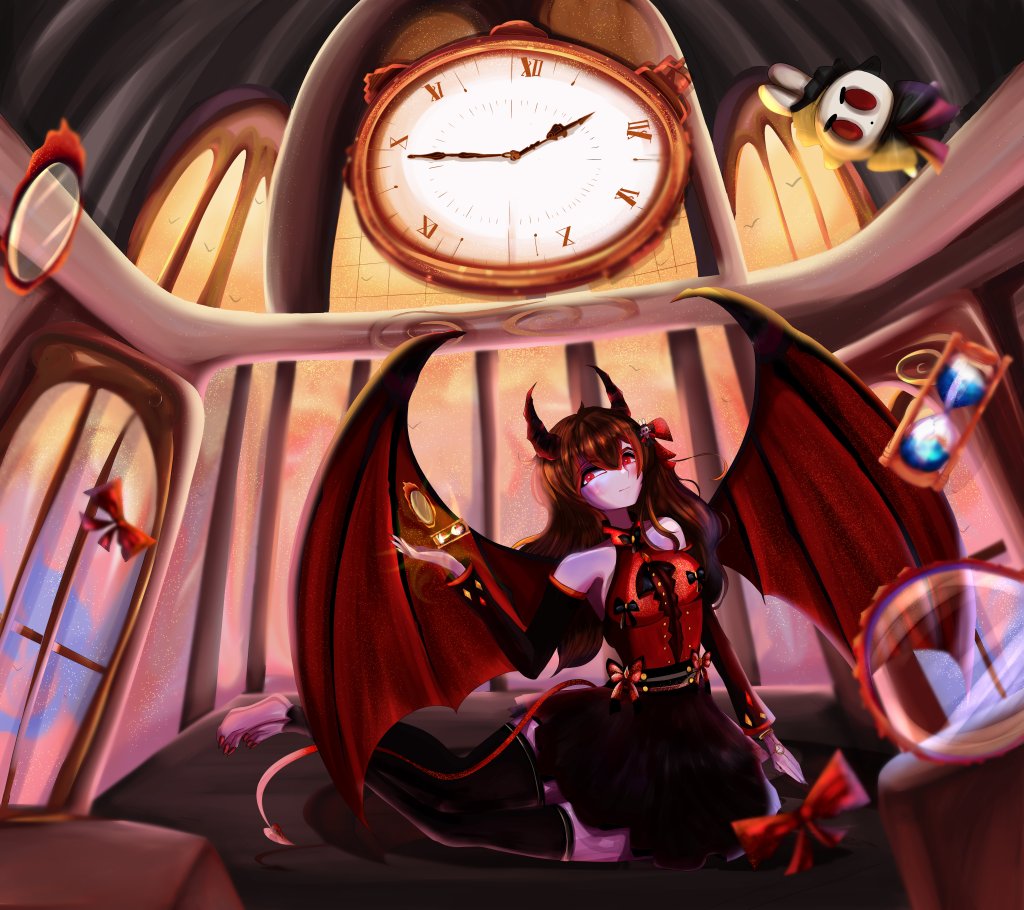
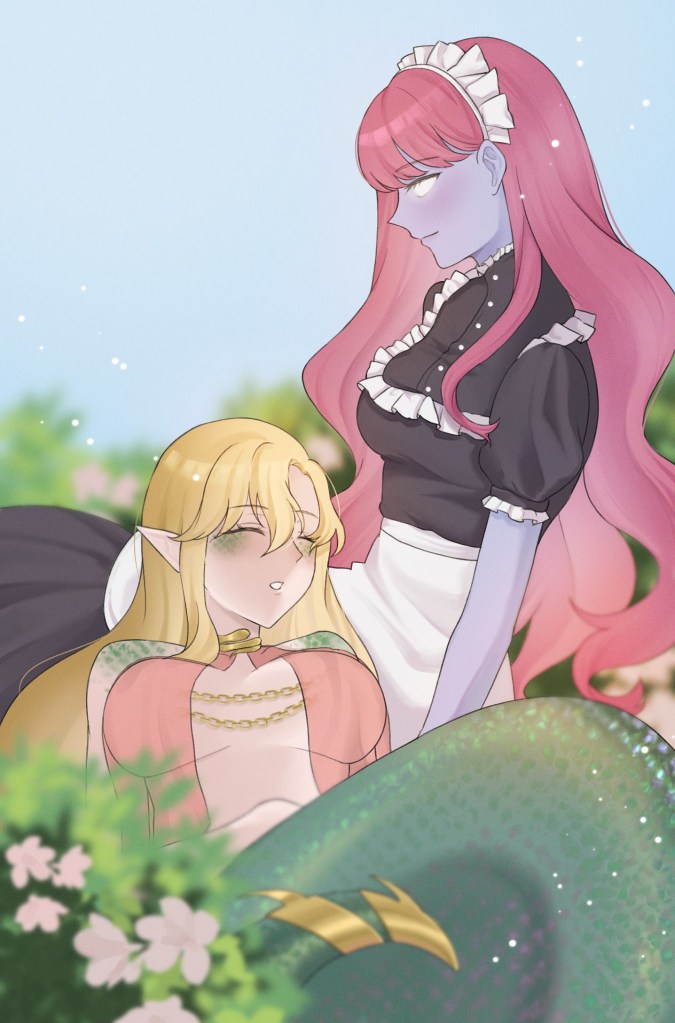
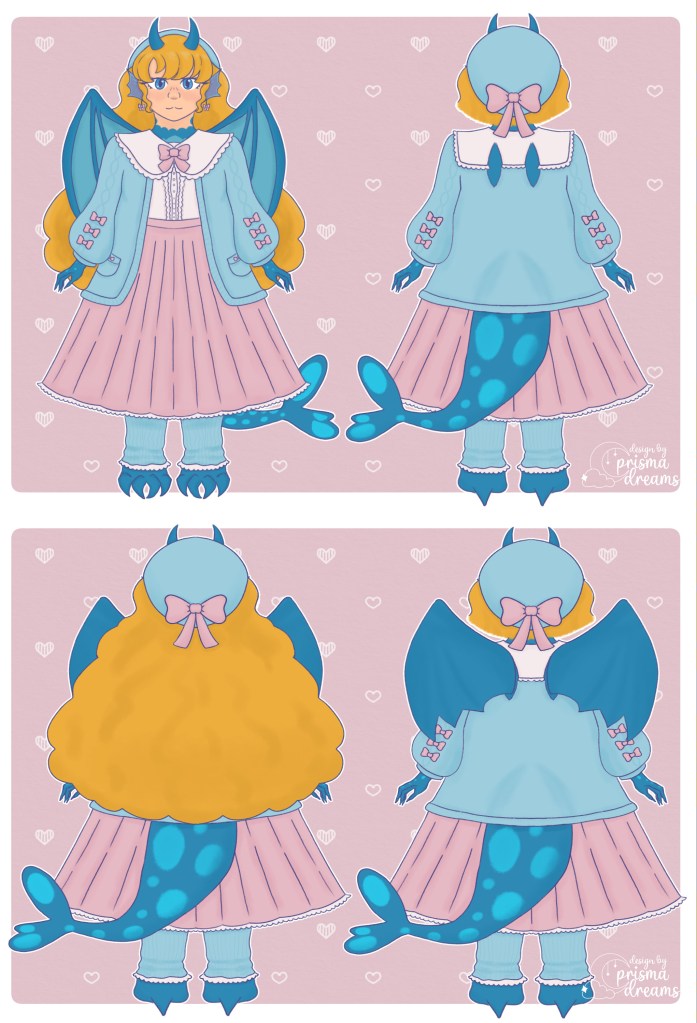
Fan Art Madness!

By Xandra


By https://bsky.app/profile/moetakudesigns.bsky.social/post/3m5dkp7z4s22d

By https://bsky.app/profile/horizonpoint.bsky.social
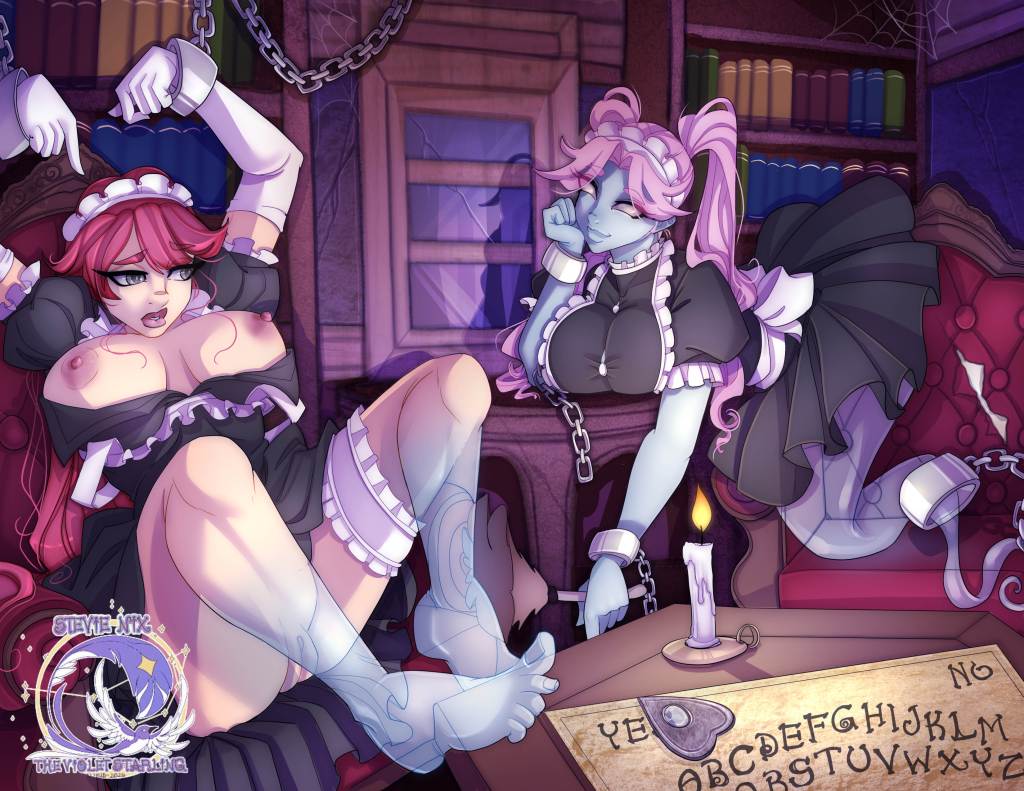
By https://bsky.app/profile/thevioletstarling.com

By https://bsky.app/profile/kristenebria.bsky.social

By https://bsky.app/profile/fllamjr.bsky.social

By https://bsky.app/profile/aikafantasy.bsky.social/post/3m5eqkozlnc2y


By https://bsky.app/profile/moomootsu.bsky.social

By https://bsky.app/profile/bumblebina.bsky.social/post/3m5eszsvu3c22

By https://bsky.app/profile/reapermako.bsky.social

By https://bsky.app/profile/orkaholic.bsky.social


By https://bsky.app/profile/dreamysuite.bsky.social/post/3m5fgpsdjyc2o
By https://bsky.app/profile/sylvenpsd.bsky.social/post/3m5flsomupc2c

By https://bsky.app/profile/synmogami.bsky.social

By https://bsky.app/profile/regalstars.bsky.social

By https://bsky.app/profile/flightlessbirb.bsky.social

By https://bsky.app/profile/smolmews.bsky.social

By https://bsky.app/profile/faizrmn7.bsky.social


By https://bsky.app/profile/kaidachu.bsky.social

By https://bsky.app/profile/bakuwa.bsky.social

By https://bsky.app/profile/chibimochishart.bsky.social

By https://bsky.app/profile/themimicontrol.bsky.social

By https://bsky.app/profile/beeatrus.bsky.social

By https://bsky.app/profile/kirisames.bsky.social/post/3m5ij3sjfkc2c

By https://bsky.app/profile/jamieginaki.bsky.social

By https://bsky.app/profile/heylumi.bsky.social/post/3m5jlpf2ew22y


By https://bsky.app/profile/0404a.bsky.social (Zeke is best, yes)

By https://bsky.app/profile/butterspace.bsky.social

By https://bsky.app/profile/sylvenpsd.bsky.social

By https://bsky.app/profile/lepaa.bsky.social

By https://bsky.app/profile/citroskull.bsky.social

By https://bsky.app/profile/yonaei.bsky.social/post/3m5jwpq7tdc23
By https://bsky.app/profile/alekosarts.bsky.social
By https://bsky.app/profile/dinsayart.bsky.social/post/3m5klzvn6l22w


By https://bsky.app/profile/9lbpaintbrush.bsky.social/post/3m5kenmkgss2o

By https://bsky.app/profile/chameleonnn.bsky.social

By https://bsky.app/profile/midnightsaint.bsky.social

By https://bsky.app/profile/lovelyapplesauce.bsky.social
By https://bsky.app/profile/paperkey.bsky.social


By https://bsky.app/profile/themimicontrol.bsky.social


By https://bsky.app/profile/mldghost2.bsky.social/post/3m5lrukmtz22n

By https://vgen.co/GoldenCygnus

By https://bsky.app/profile/paperkey.bsky.social

By https://bsky.app/profile/vintersdrom.bsky.social
By https://bsky.app/profile/longfusilli.bsky.social

By https://bsky.app/profile/d3df1shh.bsky.social
By https://bsky.app/profile/korodraws.bsky.social
By https://bsky.app/profile/themimicontrol.bsky.social

By https://bsky.app/profile/sammiegscribbles.bsky.social

By https://bsky.app/profile/yana.draws.pics
By https://bsky.app/profile/angelamalgamation.bsky.social/post/3m5py3qxkv22n


By https://bsky.app/profile/emogfnabebe.bsky.social


By https://bsky.app/profile/muxu0216.bsky.social

By https://bsky.app/profile/wispvi.bsky.social

By https://bsky.app/profile/did:plc:qg53wagkqsb3cc2e665krwxl
By https://bsky.app/profile/petit4.bsky.social

By https://bsky.app/profile/s0mba0.bsky.social/post/3m5s44zzrk223

By https://bsky.app/profile/gemini-lunarius.bsky.social/post/3m5rufdusq226
By https://bsky.app/profile/prismadreams.bsky.social

By https://bsky.app/profile/sinful-bunni.bsky.social

By https://bsky.app/profile/sylvenpsd.bsky.social

By https://bsky.app/profile/kaidachu.bsky.social


By https://bsky.app/profile/meushikeii.bsky.social

By https://bsky.app/profile/agurami.bsky.social
The Link Pile
Where to find us:
Our Patreon and Subscribestar are great places to support development! You can also get cool bonus stuff like concept art and early releases of Pandemonium!
If you want extra pictures of cats, you can follow us on Bluesky.
And there’s always Our Discord. You can shout at Salty *in person*.
You can ask us anonymous question on Whisp.sh. If you’ve ever wanted to get smarmy answers to questions, or just know more lore, that’s the place!
We also have a Wiki! We’d appreciate it greatly if people keep it maintained for us. :3
Bottled Starlight Games:
Runes of Pandemonium, the big adventure TF RPG, always free on Steam and Itch.io.
Witch Hunter Izana, a battle-TF RPG. Available on Steam or Itch.io.
Witches of Ravenbrook, a battle-TF dungeon-crawler. The prototype is out now and free on Itch.io.
WoR Kickstarter page (260% funded! Thanks a lot!)
String Tyrant, a survival horror game, is on Steam and Itch.io.
Other Bottled Starlight Stuff
Salty writes a book series, with audiobooks and illustrations, called Tales of Strings.
Instruments is out now on Itch.io.
Passed Hand is now on Itch.io!
Spiderweb Theory is now on Itch.io!
Urban Explorers is now on Itch.io!
Knights of Justice: Varsity Vixens is now on Itch.io!
Knights of Justice: Crush Depth is now on Itch.io!
Knights of Justice: Three Short Steps is now on Itch.io!
Knights of Justice: Knighttime is now on Itch.io!
Knights of Justice: Sticks and Straws is now on Itch.io!
All of the ToS books can also be found on Wechange.me!
We have some ridiculous merch on Redbubble and Teepublic if you want to be the center of conversation (derogatory / celebratory).
